Spellbound Rope System
Handcrafted ropes in a fully modular system.
Handcrafted modular ropes for Reborn and Waifu, with manual or AUTO struggle, Hogtie carrying and flowing enchantments that keep you bound.
The person being bound or carried must own and wear their own Spellbound Rope System. Their partner operates Carry from the wearer's rope menu.
Includes the full Reborn and Waifu plugin sets and Color HUD. Install or remove official tie plugins to build your setup.
Please try the demo in store.
- Struggle Mini-Game
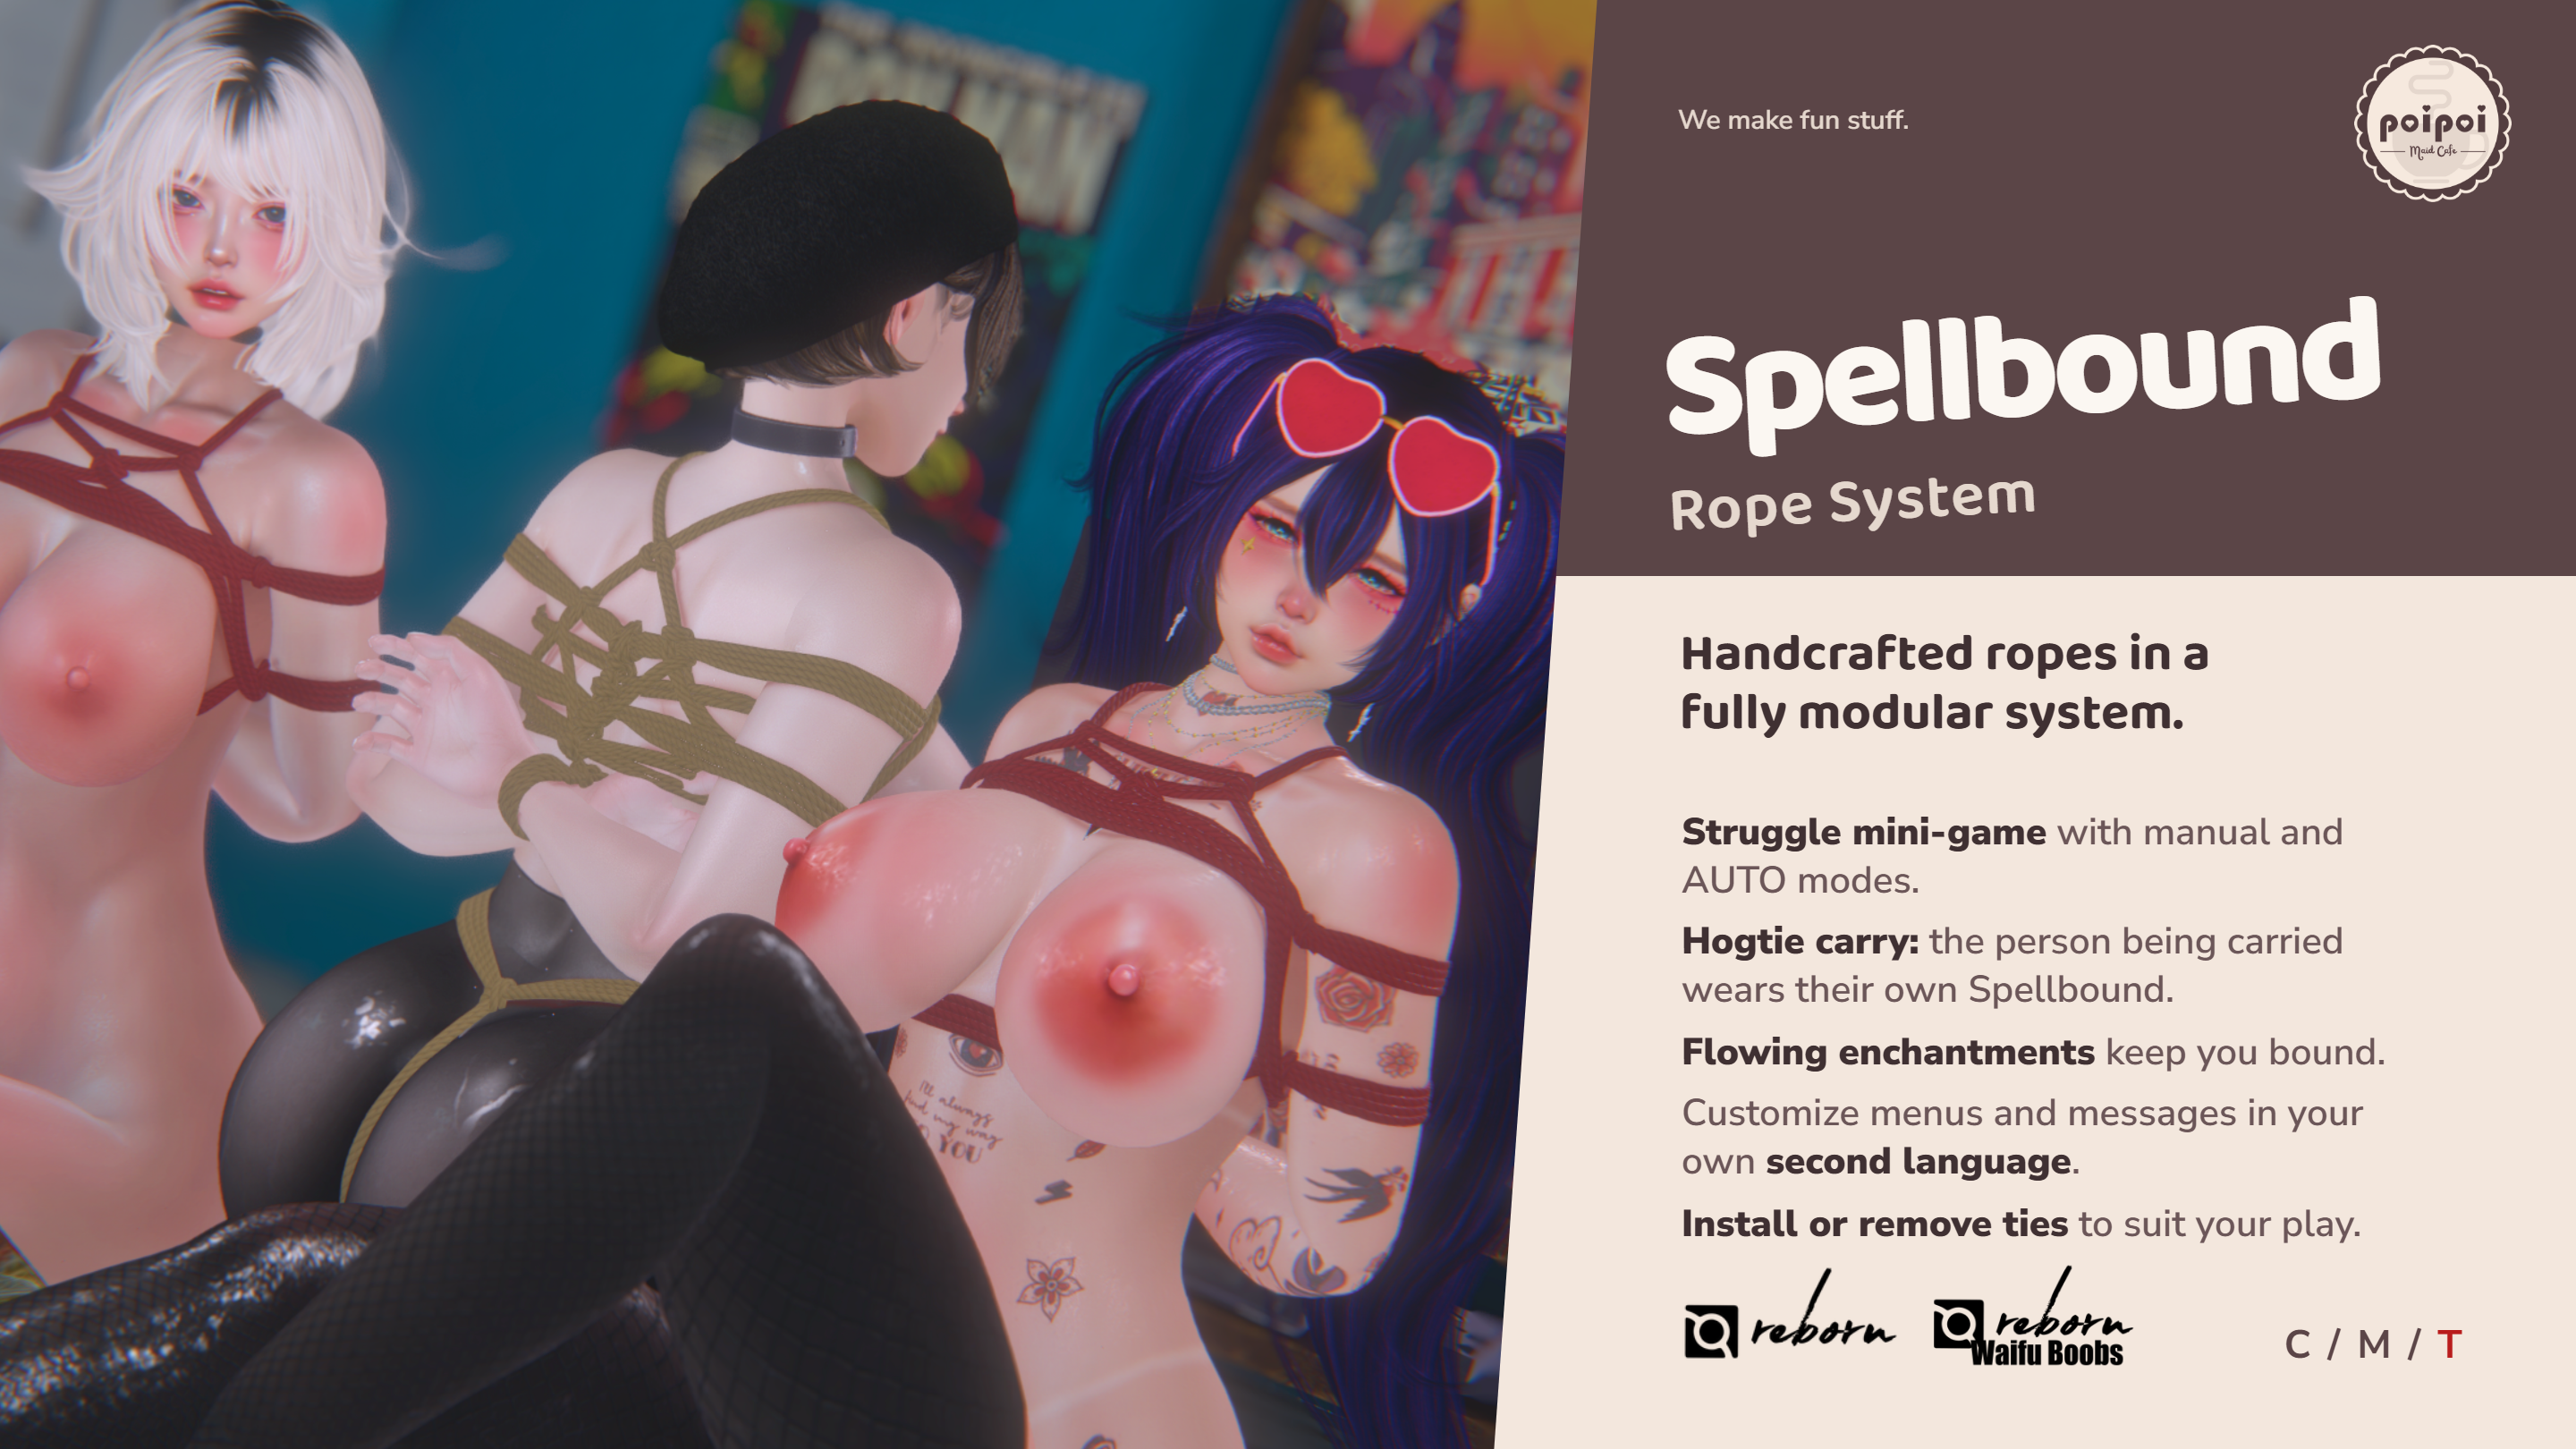
- Struggle mini-game with manual and AUTO modes.
- Carry
- Hogtie carry: the person being carried wears their own Spellbound.
- Enchantment
- Flowing enchantments keep you bound.
- Modular Ties
- Install or remove ties to suit your play.
- New-Generation Translation
- Keep English and translate the secondary language into any language you like. Customize menu labels and message text through the editable language notecard.
Changelogv1.0.11 update — tap to expand
1.0.1
- Fixed back stiffness in both hands-behind-the-back animations.
How it works
Features
Spellbound Rope System lets you combine official rope plugins. Pick your ties and pose, let a partner tighten the knots, then add a little enchantment, a timer, or a struggle~
The current ties include high and low upper-body ties, leg rope, crotch rope and Hogtie. The core, Classic Set Plugins, Waifu Plugins and Color HUD are sold together in one product package.
The two plugin packs currently contain:
- Classic Set Plugins: Reborn high and low upper-body ties, leg rope, crotch rope and Hogtie, five sets in total. The Classic parts are already linked to the core; keep this pack as a backup for reinstalling removed plugins.
- Waifu Plugins: Waifu high and low upper-body ties, two sets. These require the Spellbound Rope System core.
R in the menu means Reborn; W means Waifu. These are separate upper-body variants, and only one can be active at a time. On first use, still run the installation steps below to register the linked parts and receive their wearable layers.
Supported bodies: Reborn and Waifu. Your purchase includes the contents of the product package.
Next, let's get the ropes installed.
Getting Started
Prepare and Wear
- Use an RLV-capable viewer and enable RLV first. Alpha layers hide the body areas replaced by the included body parts; BOM rope marks appear on the body.
- Rez the core somewhere rezzing is allowed. If you're already tied, have someone with release permission untie everything first. On first use, open ⚙ SETTINGS > 📦 INSTALL yourself to register the linked Classic parts, then wait for wearable delivery to finish. You don't need to rez the Classic backup plugins; that would add duplicates.
- Take the assembled core into your inventory and use Add to wear it. On first use, you're unbound, so invisible ropes are normal.
- Short-click the ropes to open the menu. If you can't see them, type the first two characters of your avatar's legacy name (not display name) followed by
rpin local chat. Alice, for example, typesAlrp, or/1 Alrp. It's case-insensitive; the menu's Command line shows the exact command. - English is the default. Choose 🌐 中文 on the main menu for Chinese, or 🌐 EN to return to English. If the text is still loading, wait a few seconds before opening the menu again.
- Open ❤ TIE and select an installed, available tie. When poses are available, return to the main menu and choose 🧍 POSE.
Without RLV, Alpha, rope marks, height and RLV restrictions won't work properly! Ropes and animations may still appear; that doesn't confirm a complete setup.
Add Official Plugins
- Release every tie, then rez the core and the official plugins you want to add within 10 metres of each other. Keep each plugin's linked parts, names and contents intact, including its body and nails.
- Click the core as its wearer and open ⚙ SETTINGS > 📦 INSTALL. Choose a nearby plugin or INSTALL ALL, then grant permission to link. The system links each complete plugin to the core.
- Wait for linking, scanning and wearable delivery to finish. If there are no nearby standalone plugins, it checks the already linked parts instead. Use this to register the Classic parts on first use.
- Missing resources, duplicate plugins or configuration conflicts produce a message. Address it before installing again. Only the wearer can install; finished linking doesn't mean wearable delivery has finished.
- Take the system into inventory and Add it to wear. Check the new ties under ❤ TIE. Installing doesn't tie you automatically.
If RLV didn't answer, enable it and run 📦 INSTALL again. Don't keep restarting installation or change the links during a scan or uninstall. Let the current operation finish first.
Switch Off or Uninstall
- To set a tie aside temporarily, open ⚙ SETTINGS > 🧵 TIE SWITCHES as the wearer and click its name. ☑ means on; ☐ means off. Release an active tie before switching it off. Its parts stay linked, and the choice survives rewearing and another installation scan.
- To remove a plugin, release every tie, detach and rez the ropes, then open ⚙ SETTINGS > 🗑 UNINSTALL as the wearer. Select the tie, check the part counts, choose CONFIRM UNINSTALL, and grant permission to change links. Choose CANCEL to leave it alone.
- Uninstall permanently deletes the selected tie's rope, companion body parts and nails without sending them to Trash. The core, other plugins and wearable layers already in inventory stay. To restore the tie, rez a fresh copy from the included plugin pack and install it again.
- If uninstall stops partway through, check the reported deleted, still-linked and detached-but-unconfirmed parts. An interrupted uninstall isn't a completed uninstall.
Next, choose a tie, a pose and a little magic.
Access Control
Use 🔐 ACCESS on the main menu. Owner here means the person assigned in the menu, not inventory ownership of the object.
- 👤 OWNER+ selects an owner from nearby people; 👤 OWNER- removes the owner.
- ❤ TRUSTED+ adds someone nearby, up to five trusted people. ❤ TRUSTED- lets you select someone to remove. The picker searches within 10 metres and shows up to 10 people, including you.
- SELF ACCESS defaults to on and controls ordinary wearer access. Set an owner before switching it off. The assigned owner always has access.
- PUBLIC defaults to on and lets other people use ordinary menus. It doesn't grant access-management rights or bypass enchantment and tie requirements.
- ACCESS LOCK defaults to off. Only the assigned owner can toggle it. It blocks an ordinary wearer from access management; the owner can still enter.
Access management is for the assigned owner, or the wearer with SELF ACCESS on and no blocking ACCESS LOCK. Trusted status alone doesn't grant management rights. Installation, tie switches and uninstall remain wearer-only. Removing the owner restores SELF ACCESS and turns ACCESS LOCK off.
Next, adjust the appearance and feedback.
Settings
Open ⚙ SETTINGS:
- FLOATTEXT defaults to on and shows struggle progress. Turning it off doesn't stop struggling.
- CHAT TIPS defaults to on and controls ordinary status messages to the wearer. Errors, warnings and feedback addressed to an operator may still appear.
- GRABBER defaults to on and allows dragging after holding the core root.
- ✨ GLOW: use ▲ INTENSITY / ▼ INTENSITY to adjust intensity from 0 to 1 in steps of 0.1. Default: 0.2; 0 turns the effect off. ☑ FLOW / ☐ FLOW switches between flowing and steady light, with flow on by default. The effect lights visible ropes only while enchanted or in self-bondage, then turns off; body parts and nails are unaffected. Choose COLOR for pink (default), white, red, orange, yellow, green, blue or purple, or Custom to enter
<R,G,B>values from 0 to 1. Settings survive script reset; glow changes preserve the rope base colour set by the HUD. - 💅 NAILS / ✋ HANDS / 💪 ARMS appear only when installed plugins declare those parts. Toggle each tie separately: ☑ is visible and ☐ hidden, with visible as the default. Choices are saved. These control the included body parts, not your original body's HUD.
- 📦 INSTALL / 🧵 TIE SWITCHES / 🗑 UNINSTALL are covered in the installation section. Uninstall requires the object to be rezzed with every tie released; opening it while worn or tied shows the unmet conditions.
The included HUD is named [:3PoiPoi] Ropes Color HUD. Wear it alongside your ropes and wait for Loading... to clear. Click a rope-colour button to change the rope base colour, or a nail-material button to change the included nails. The replacement body isn't tinted. Changing the rope colour preserves your separate glow colour; nail visibility is still controlled under ⚙ SETTINGS > 💅 NAILS.
English is the default; Text.alt supplies the secondary language. The main menu's 🌐 button names the language you will switch to: 🌐 中文 selects Chinese; 🌐 EN returns to English.
⚙ SETTINGS > ☑ LANGUAGE SWITCH is on by default. Turn it off to hide the main menu's 🌐 button and keep the current language. Turn it back on to restore the button without changing that language. The setting requires permission to operate the ropes and survives a script reset.
To replace the secondary language, open the main object's Edit > Contents, back up Text.alt, then paste your complete translation into that same card without renaming it. Translate only the text after the first = on each line. Keep keys, placeholders such as {1}, and literal \n markers. Button text must fit within 20 UTF-8 bytes. Save and wait a few seconds for automatic loading; no script reset or plugin reinstall is needed. Missing text falls back to English. Leave Text.en unchanged. Plugin tie, slot and pose names may live outside this card.
Text.alt allows Copy / Modify / Transfer. Share the card or complete .txt with users of the same product. They back up their original text, then paste the full translation into their own card with the same name. These permissions apply to the language card itself. Download the translation Agent Skill and notecard specification to have AI follow the format, placeholder and byte-limit rules.
Next, check here if something doesn't look right.
FAQ
Why Are Some Menu Buttons Missing?
Buttons depend on permissions, ties and poses. Pose selection needs multiple poses; height needs an adjustable target; Position appears while carrying. An ordinary wearer with an upper-body tie won't see options to add ties or release directly. Uninstalled or disabled plugins, unmet requirements and missing assets also affect the choices.
Why Can't I See the Rope Glow?
In Firestorm, open Preferences > Graphics > Rendering. Under Miscellaneous Rendering, enable HDR and Emissive, then check the rope glow again. See the full setup steps.
Why Is My Body Clipping, or Why Are Alpha and Rope Marks Missing?
Check that RLV is on and the installation finished handing out the layers. Alpha hides the original body; BOM rope marks are tattoo layers. Neither is the rope mesh itself. Check the matching variant and layers. If delivery fails, check the item named in chat, release everything and install again. A failed appearance layer doesn't cancel a tie, so being tied doesn't confirm that the appearance is correct.
What Survives Relogging or Detaching and Rewearing?
Without resetting the same object, active ties, enchantment/self-bondage and related choices remain. Rewearing restores animations, height and required layers. Logging out or detaching pauses the timer; rewearing continues it. A grab ends and doesn't resume automatically.
Detaching the rope attachment automatically removes this system's Alpha and rope-mark layers while preserving ties and mark timing. Rewearing restores layers needed by active ties and any unexpired residual marks; expired residual marks stay removed. Releasing ties removes Alpha layers that are no longer needed. After at least 2 minutes of online, worn binding, every 2 bound minutes earns 1 minute of residual rope marks, up to 1 hour per upper-body, leg or crotch region. Marks disappear at expiry rather than gradually fading. While released marks remain, the main menu offers CLEAR MARKS: one click removes all released regions' marks, preserving marks and earned time on regions still tied. There is no manual enable or permanent-mark mode; existing marks never prevent tying again.
Short trials under 2 minutes do not pool between releases. Rebinding preserves unexpired credit and resumes accumulation; switching ties in the same region replaces the displayed marks without stacking. Offline or detached time earns no bound credit, but recovery after release continues in real time; expired layers are removed when the system runs again and RLV responds. CLEAR MARKS follows appearance access, including permitted visitors when Public is enabled. A full script reset clears mark timing and residual state.
What Does a Full Script Reset Do?
It returns you to unbound, clears enchantment, self-bondage and the current timer, and resets tightness to 40. Owner, trusted list, public access, language, pose heights, part-visibility choices and tie switches remain. SELF ACCESS returns to on; ACCESS LOCK returns to off. Relogging isn't a full script reset.
How Can We End Early?
Without enchantment, someone with release permission can undo a tie or choose ⏹ RELEASE ALL. An ordinary wearer with an upper-body tie must struggle first. With enchantment, ask the enchanter, owner or a trusted person. For self-bondage, wait for expiry or have the owner/trusted person release it. DISPEL and stopping the timer don't directly untie you.
Why Is an Installed Plugin Unavailable, or Why Did Uninstall Stop?
Read the chat message first. Missing animations, duplicate main parts, unmet requirements and switched-off ties need different fixes. Hogtie needs an active upper-body tie and leg rope; merely installing them isn't enough. Wait for an ongoing operation to finish. If links change during confirmation, select the plugin again. After an interrupted uninstall, check the ground and remaining links before continuing.
What If No Translucent Carry Box Appears?
Check that the location allows rezzing and the product contains its Carry Engine. Address the missing-item or rez-failure message before trying again, rather than repeatedly pressing Carry.
Ready? Pick a favourite tie and try it with your partner~